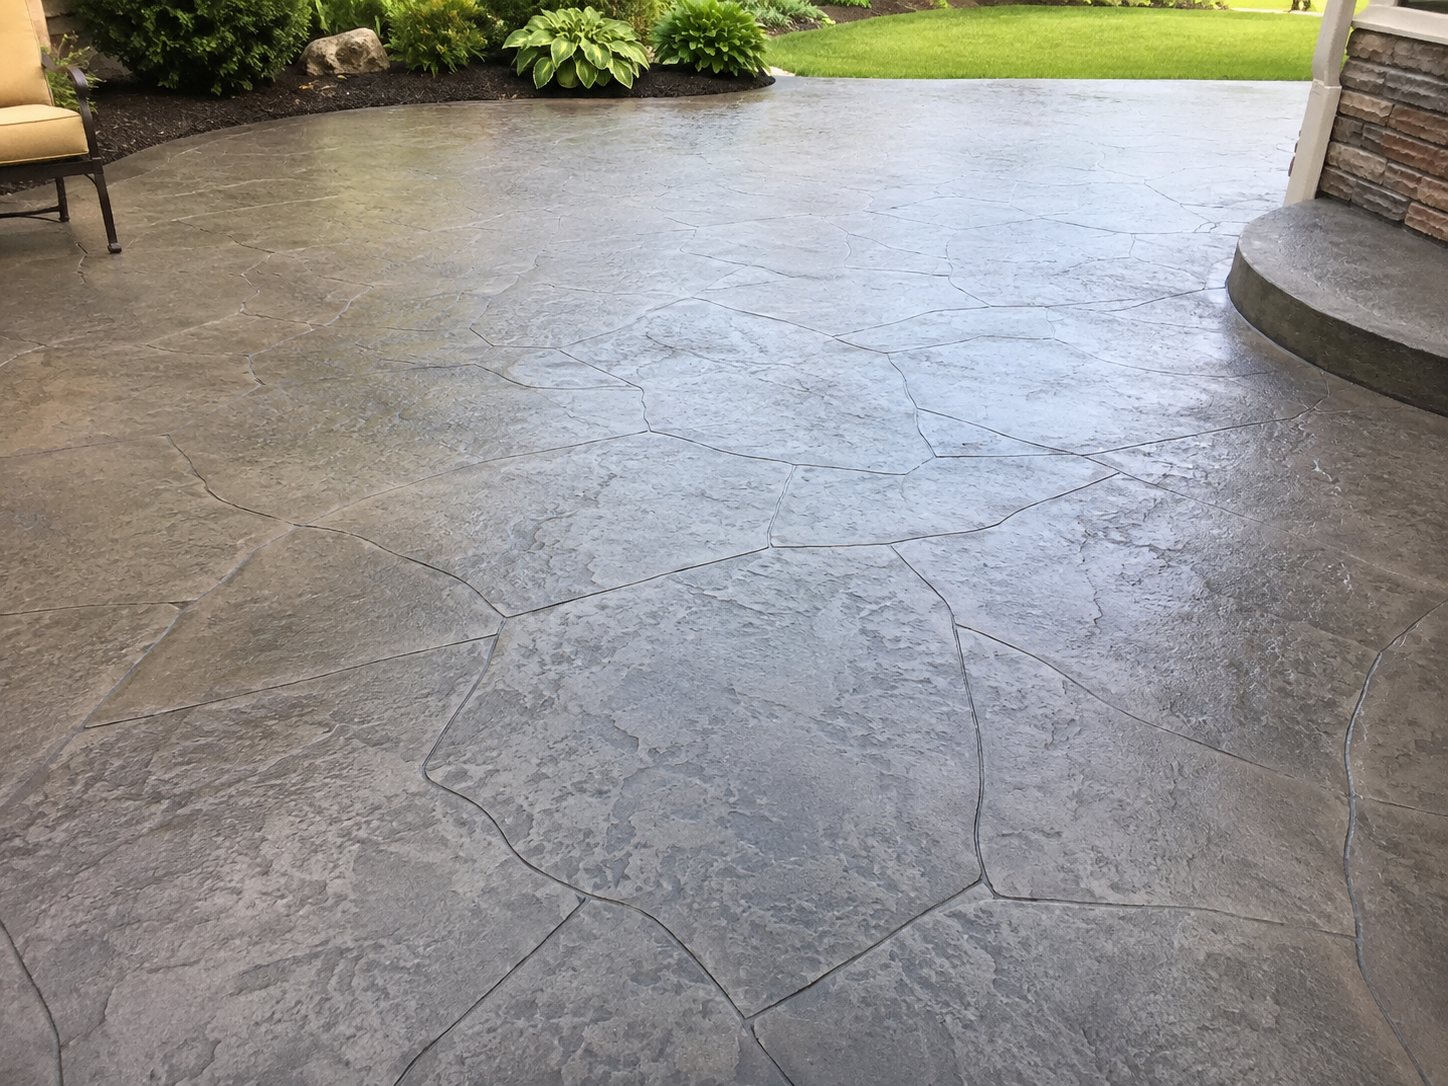
Concrete surfaces take a beating over time. Between weather exposure, foot traffic, moisture, UV rays, and daily wear, even high-quality concrete can begin to crack, fade, stain, and lose its visual appeal. Environments in the Midwest are susceptible to the freeze/thaw cycle and the drought/flood cycles that exist. Fortunately, when your outdoor concrete begins to show its’ wear and tear, full concrete replacement is not the only option. Concrete overlays provide a durable, cost-effective solution that restores and transforms existing concrete surfaces without the expense and disruption of demolition. At PolyMagic, the trusted Johnson County professional for concrete resurfacing and coatings, property owners are discovering how decorative concrete overlays can dramatically improve pool decks, patios, outdoor entertainment areas, and commercial spaces while extending the life of existing concrete.
Uneven concrete in Mid-Missouri? Discover why homeowners in Jefferson City, Columbia, and Lake of the Ozarks choose polyjacking this spring.
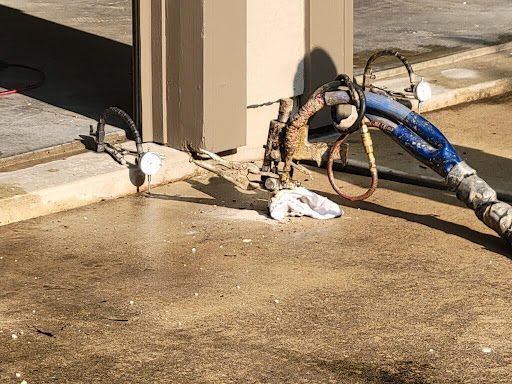
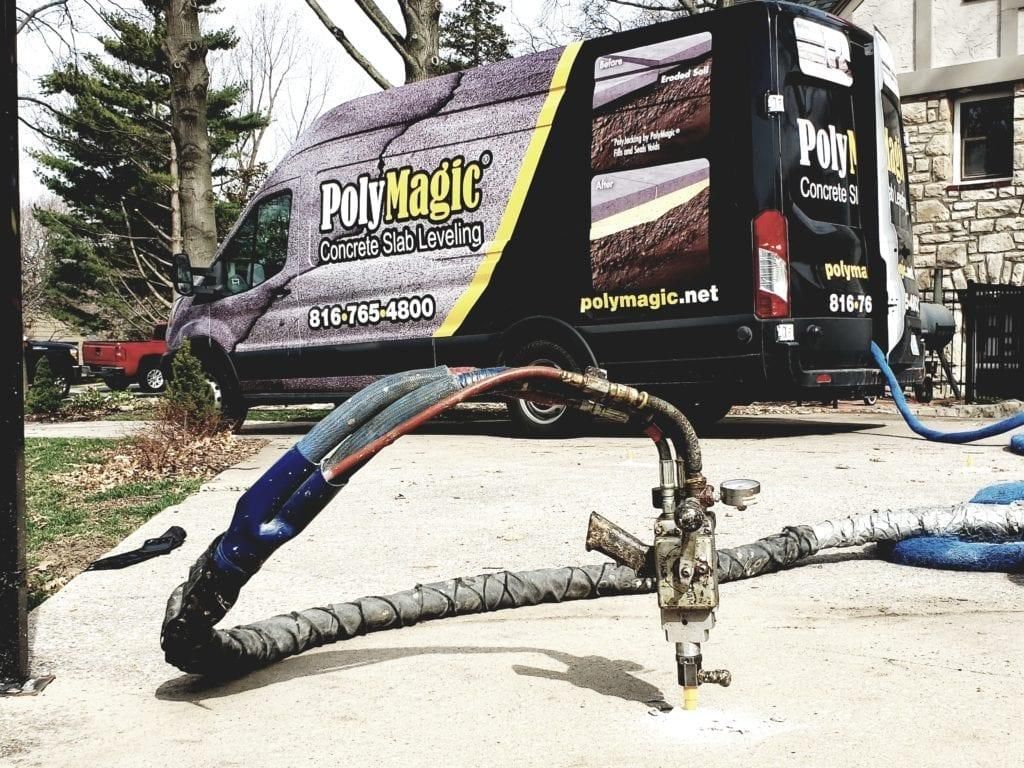
Uneven concrete? Discover 3 reasons Kansas City homeowners should consider polyjacking and concrete lifting this spring instead of costly replacement.
How Long Will My Driveway Polyjacking Last?
How Long Will Polyjacking Last?
Will Oil Stain My Epoxy Garage Floors? The Scientific Truth About Your Garage Floor
Can an Epoxy Garage Floor Withstand Oil Stains? The Truth About Epoxy Floor Durability

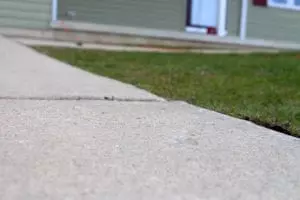
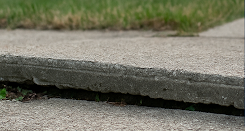
Sinking Driveway in Mid-Missouri: Should You Repair or Replace Your Concrete?
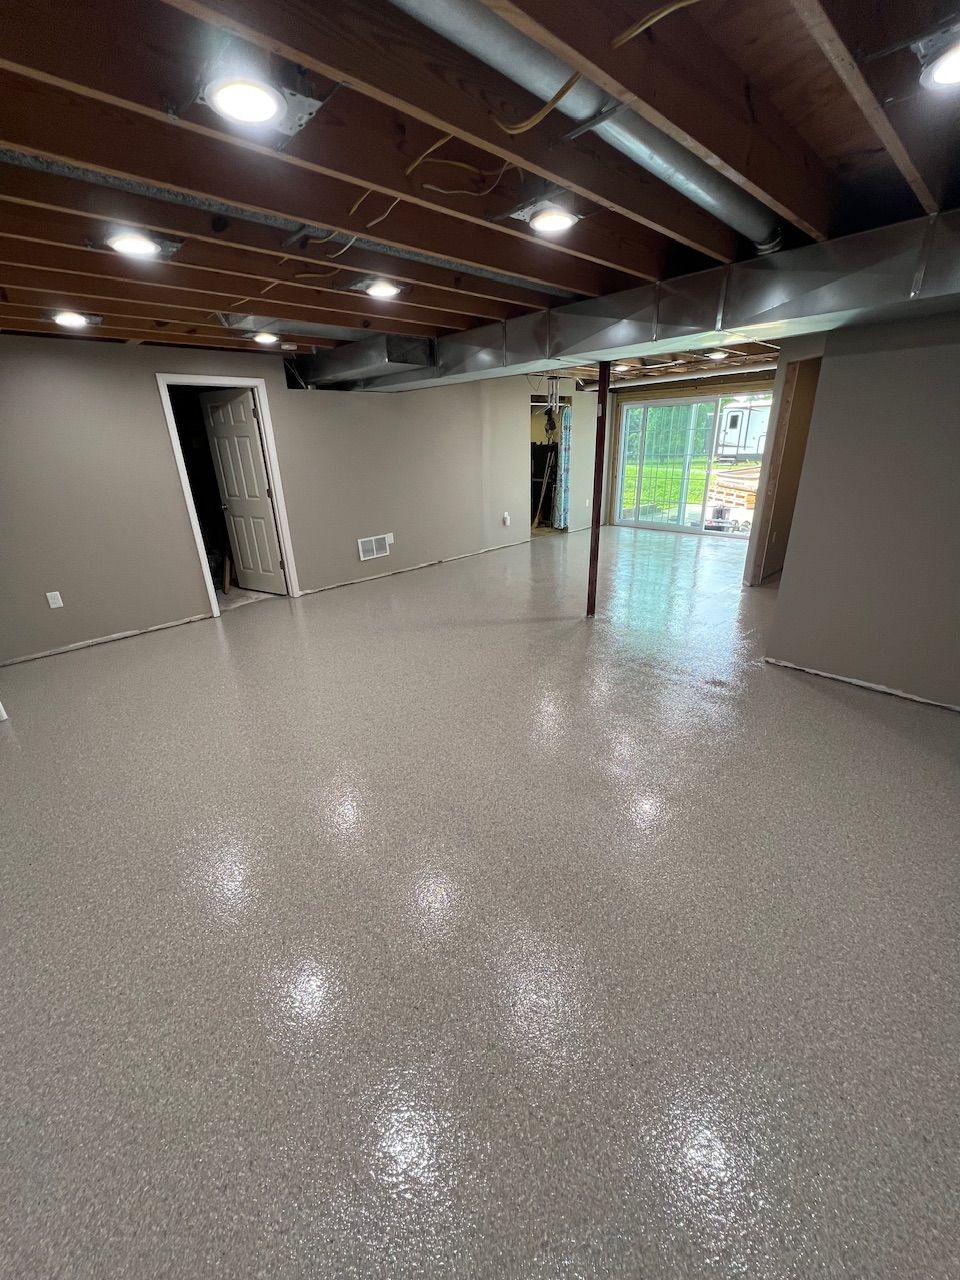
Epoxy: Not Just for Crafting — Why It's the Real MVP of Floor Coatings
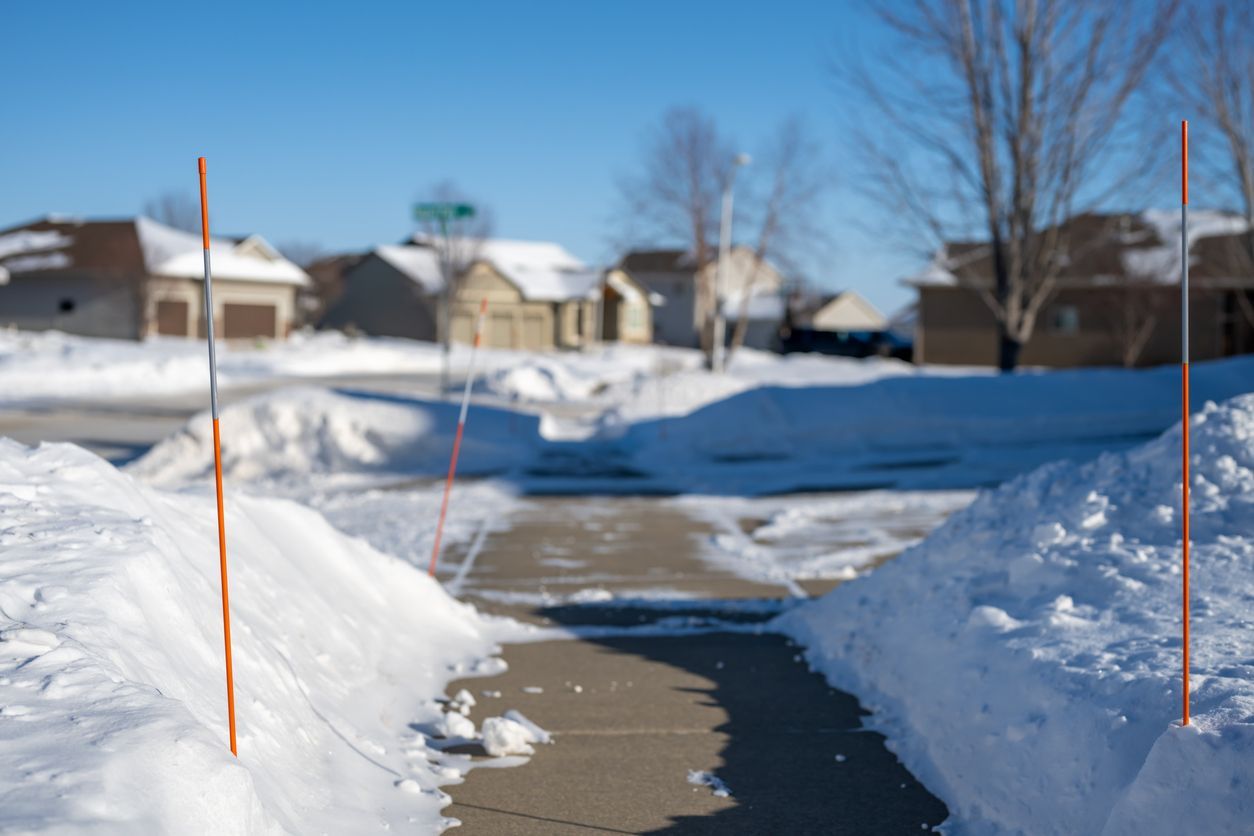
Winter Weather Warnings: How Cold Temps Can Damage Your Concrete (And What You Can Do About It)